Transform Your Space: Creative Home Decor DIY Projects
Home is where the heart is, and there’s nothing quite like personalizing your space to reflect your style and personality. DIY home decor projects are a fun and cost-effective way to refresh your living space, making it uniquely yours. Whether you’re a seasoned DIY enthusiast or a beginner looking to get crafty, here are some creative home decor projects that will breathe new life into your home.
1. Upcycled Furniture Makeover
Materials Needed:
- Old furniture piece (chair, table, dresser)
- Sandpaper
- Primer and paint or wood stain
- Paintbrushes or rollers
- New hardware (knobs, handles)
Instructions:
- Choose Your Piece: Find an old piece of furniture that needs a new look. Thrift stores and garage sales are great places to find affordable items.
- Prep the Surface: Sand the furniture to remove old paint or varnish and create a smooth surface. Use a moist cloth to remove dust.
- Prime and Paint: Apply a primer if needed, then paint or stain the piece in your chosen color. After each layer dries, apply another.
- Add New Hardware: Replace old knobs or handles with new ones to give your furniture a fresh, updated look.
- Enjoy Your Masterpiece: Place your revamped furniture in its new home and admire your handiwork.
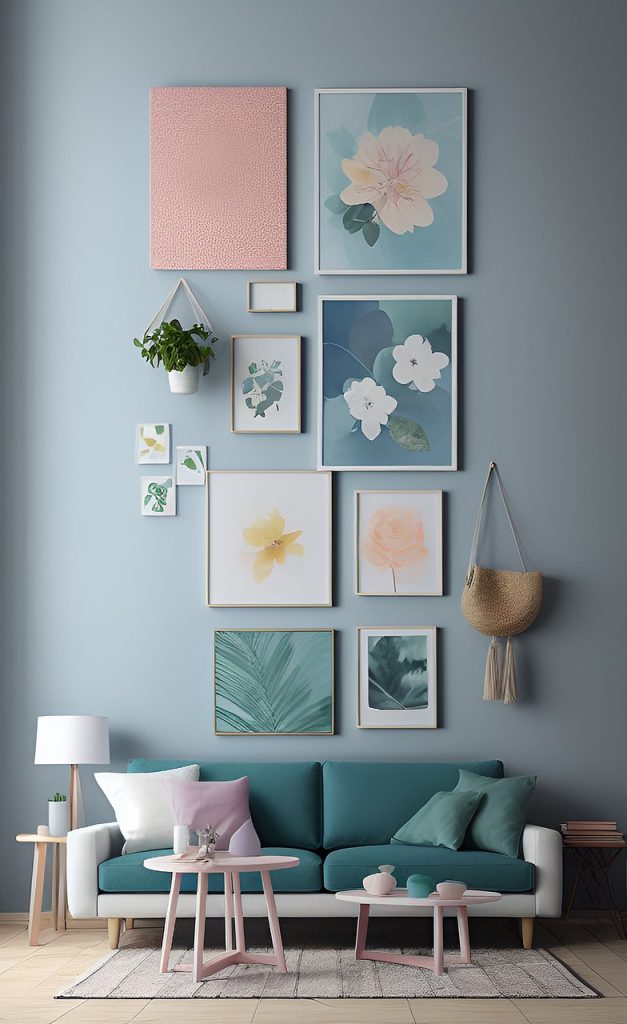
2. DIY Wall Art
Materials Needed:
- Canvas or wooden boards
- Acrylic paints
- Paintbrushes
- Painter’s tape
- Stencils (optional)
Instructions:
- Prepare Your Canvas: Choose a blank canvas or wooden board as your base. Make sure it’s clean and dry.
- Create a Design: Use painter’s tape to mark off sections for geometric designs, or use stencils for patterns. If you’re feeling adventurous, freehand a design.
- Paint: Fill in your design with acrylic paints. Layer colors and add details as desired. Let each layer dry before adding more.
- Remove Tape or Stencils: Carefully remove any tape or stencils to reveal crisp lines and shapes.
- Display Your Art: Hang your new artwork on the wall to add a personal touch to your space.
3. Homemade Throw Pillows
Materials Needed:
- Fabric (cotton, linen, or your preferred material)
- Pillow inserts
- Sewing machine or needle and thread
- Scissors
- Fabric glue (optional)
- Decorative elements (buttons, ribbons, tassels)

Home Decor DIY Projects
Instructions:
- Choose Your Fabric: Select a fabric that matches your decor style. Cut it into two equal squares or rectangles, allowing for a half-inch seam allowance on all sides.
- Sew the Pillowcase: Place the fabric pieces right sides together and sew around the edges, leaving a small opening for the pillow insert. If you’re not confident with sewing, fabric glue can be used as an alternative.
- Insert the Pillow: Turn the pillowcase on the right side out and insert the pillow.
- Close the Opening: Sew or glue the opening shut.
- Add Decorative Elements: Attach buttons, ribbons, or tassels to give your pillows a unique, finished look.
- Enjoy Your Cozy Creations: Arrange your new throw pillows on your sofa or bed for an instant decor update.
4. Custom Shelving Units
Materials Needed:
- Wooden boards or crates
- Sandpaper
- Wood stain or paint
- Brackets and screws
- Drill
- Level
Instructions:
- Choose Your Shelving Material: Select wooden boards or crates that fit your space and style.
- Prep the Wood: Sand the wood to smooth any rough edges. Stain or paint the wood to your desired color and let it dry.
- Install Brackets: Mark where you want to place your shelves on the wall. Use a level to ensure they are even, then drill holes and attach the brackets securely.
- Mount the Shelves: Place the wooden boards or crates on the brackets and secure them with screws.
- Decorate Your Shelves: Arrange books, plants, and decorative items on your new shelves to showcase your style.
5. DIY Macrame Wall Hanging
Materials Needed:
- Macrame cord
- Wooden dowel or branch
- Scissors
- Tape measure
Instructions:
- Cut the Cord: Cut several lengths of macrame cord, each double the desired length of your wall hanging.
- Attach to Dowel: Fold each cord in half and create a lark’s head knot to attach it to the dowel or branch.
- Create Your Design: Use basic macrame knots like square knots, half hitch knots, and diagonal clove hitch knots to form patterns. To help you, there are a tonne of online tutorials available.
- Finish and Trim: Once you’re happy with your design, trim the ends of the cords to your desired length.
- Hang and Enjoy: Hang your macrame wall hanging in a prominent place to add a boho-chic touch to your home.
Final Thoughts
DIY home decor projects are a fantastic way to personalize your space, unleash your creativity, and often save money. Whether you’re transforming old furniture, crafting custom wall art, or adding new accessories, these projects will help you create a home that truly reflects your style and personality.
Happy decorating!
